Back to Blog
How to Configure Mailgun - Complete Integration Guide (2026)
Mar 05, 2026
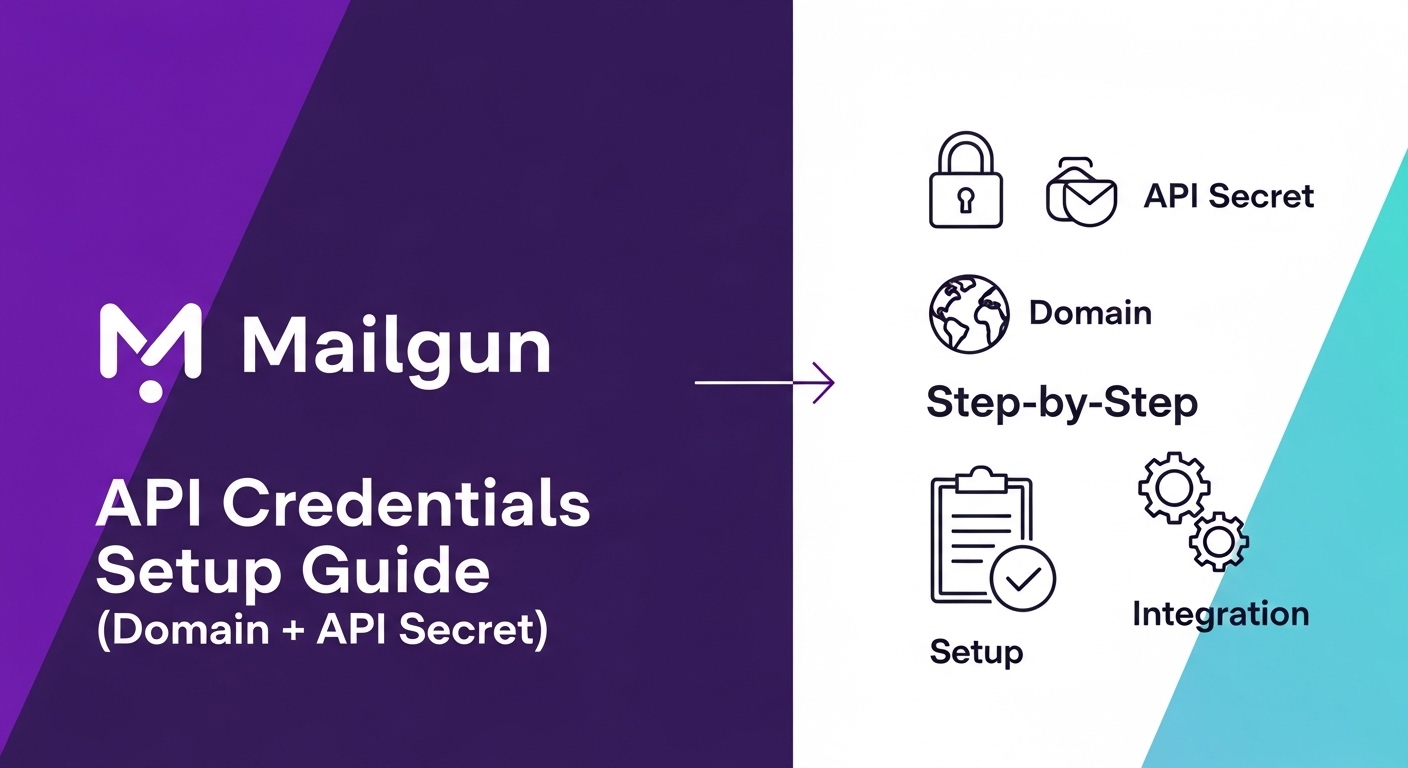
Mailgun API Credentials Setup Guide – Step by Step (Domain + API Secret)
How to Configure Mailgun for Your Platform
Mailgun is a powerful, developer-friendly email delivery platform. Many platforms allow you to connect Mailgun using just two key fields: Domain and API Secret. Follow this guide to set it up in minutes.
Prerequisites
- A Mailgun account (Free or Paid).
- A domain name you own.
- Access to your domain's DNS settings.
Step 1: Account Access
Log in to Mailgun.com. Ensure your email address is verified to unlock all dashboard features.
Step 2: Add & Verify Domain
In the dashboard, go to Send → Sending → Domains. Click Add New Domain.
- Enter your domain (e.g.,
mg.yourdomain.com). - Add the provided TXT and CNAME records to your DNS provider (Cloudflare, GoDaddy, etc.).
- Wait for the status to turn Active.
✅ Copy this domain for the "Domain" field
Step 3: Generate API Secret
Navigate to API Security under your profile settings.
- Click Add new key.
- Set the role to Admin.
- Copy the key immediately (starts with
key-).
⚠️ Security Notice: Your API Secret is shown only once. If you lose it, you must delete the key and create a new one.
Mailgun Pricing Plans (2026)
| Plan | Price | Included Emails | Best For |
|---|---|---|---|
| Free | $0 | 100 / day | Development |
| Basic | $15 | 10,000 / mo | Startups |
| Foundation | $35 | 50,000 / mo | Growth |
| Scale | $90 | 100,000 / mo | Enterprise |
🚀 Pro Tips for Success
- Subdomains: Use a subdomain like
mail.domain.comto keep your main domain's reputation safe. - Sandbox Mode: Use the default sandbox domain for initial testing without DNS setup.
- Deliverability: Complete SPF and DKIM verification to ensure your emails don't hit the spam folder.